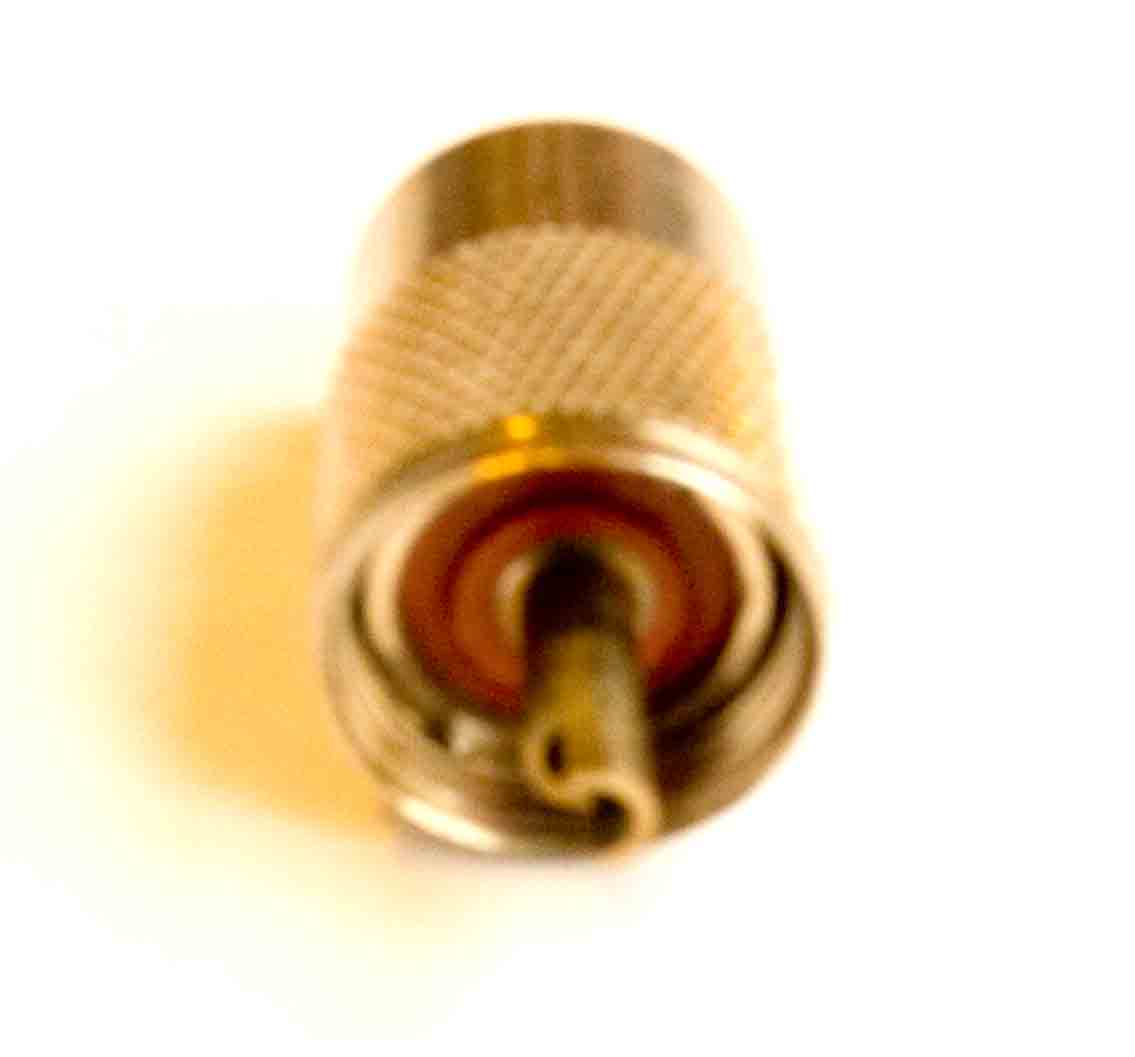
The UHF connector, also sometimes known as the Amphenol coaxial connector was designed in the 1930s by a designer in the Amphenol company for use as an RF connector in the radio industry. The UHF connector was initially intended for use as a video connector for radar equipment, but it later became used in a variety of RF applications.The plug may be referred to as a PL259 coaxial connector, and the socket as an SO239 connector. These are their original military part numbers
... was originally intended for use as a video connector, but was later used as an RF connector.... |  |
UHF connector description
These RF coaxial connectors have a threaded coupling, and this prevents them from being removed accidentally. It also enables them to be tightened sufficiently to enable a good low resistance connection to be made between the two halves. The thread for the UHF connector is a 5/8 inch 24tpi UNEF standard. It is also useful to note that the center conductor jack on the SO-239 will also accept a banana plug. This can be useful for some test applications where access is required.
PL259 RF connectors come in two sizes: for thick and thin coaxial cable. Typically the larger sized version of the PL259 would be used with RG-8/U or RG-9/U while the smaller versions are more suited to cables including RG-58/U. The basic connector remains the same, but the cable entry region is modified for the relevant type of coax cable. Thin coaxial cables are often used for short runs or 'patch' leads but not for long runs as the thinner cables have a higher loss than thicker ones. When a thin coax cable variety is needed, PL259 plugs are commonly used with a "reducer" to fit the large cable entry hole in the plug to the thin cable. It is also interesting to note that the term "PL259" originally referred to one specific mechanical design, although now it is a more generic term referring to a UHF male connector (plug).

UHF connector and reducer
UHF connector limitations
Although UHF connectors, PL259 and SO239 variants are often used in semi-professional applications they are not widely used in all areas. The drawback of the UHF or Amphenol connector is that it has a non-constant impedance across the length of the cable. This limits their use as an RF connector to frequencies of up to an absolute maximum 300 MHz.
Although the absolute maximum frequency for UHF connectors is 300 MHz, care should be taken when using them. Low cost, and hence low quality versions are often sold, and these use inferior and cheaper materials. These connectors may be sold with CB equipment that is manufactured to a price and their performance will often be suitable to frequencies of 30 MHz maximum.
Soldering UHF connectors
Soldering PL259 UHF connectors is not always easy. It is necessary to know exactly what to do to ensure a reliable connection is made. If the connector is not made properly then there is the possibility of an open or short circuit appearing.
The tools required are quite straightforward and available in most home, college or company workshops:
- A tool to strip the cable - normally a sharp knife is the preferred item (but be very careful when using it!) in the absence of a special tool for this purpose.
- Soldering iron, and solder.
- A pair of pliers to hold the item being worked upon.
- A vice or other item to hold the work is a distinct advantage.
- A pair of wire cutters
NB: A word of warning - the connectors become very hot when being solder and retain their heat for some time, so be careful when handling the connector after it has been soldered.
The assembly of the PL259 can be undertaken in a few easy stages:
- Strip back the outer sheath of cable to be attached to the PL259 by about 35 mm (1.5 inches). Take care when doing this not to cut into the outer conductive braid, damaging the individual copper strands.
- Leave around 13 mm (0.5 inch) of the copper braid or shielding in place and then remove about 13 mm (0.5 inch)of the plastic core.
- Tin the exposed central copper core of the coax cable to ensure that there is a thin but even covering of solder on the copper. This must be done relatively quickly otherwise the dielectric spacing between the outer and inner conductors of the coax will melt.
- Once the cable has cooled slide the inner part of the PL259 plug over the cable with a screwing action until the copper core appears at the end of the centre pin. The trimmed shield will have become trapped between the core and the inside of the PL259. The outer sheath or covering or covering of the coax cable will ensure a snug fit and any protruding shielding can then be removed using the sharp knife.
- Take the soldering iron and heat the centre pin of the PL259 and cable core. Add solder to fill the void in between the core and the plug.
- Once the connector is cool, trim off any protruding core and screw back on the outer cover of the PL259.
No hay comentarios:
Publicar un comentario